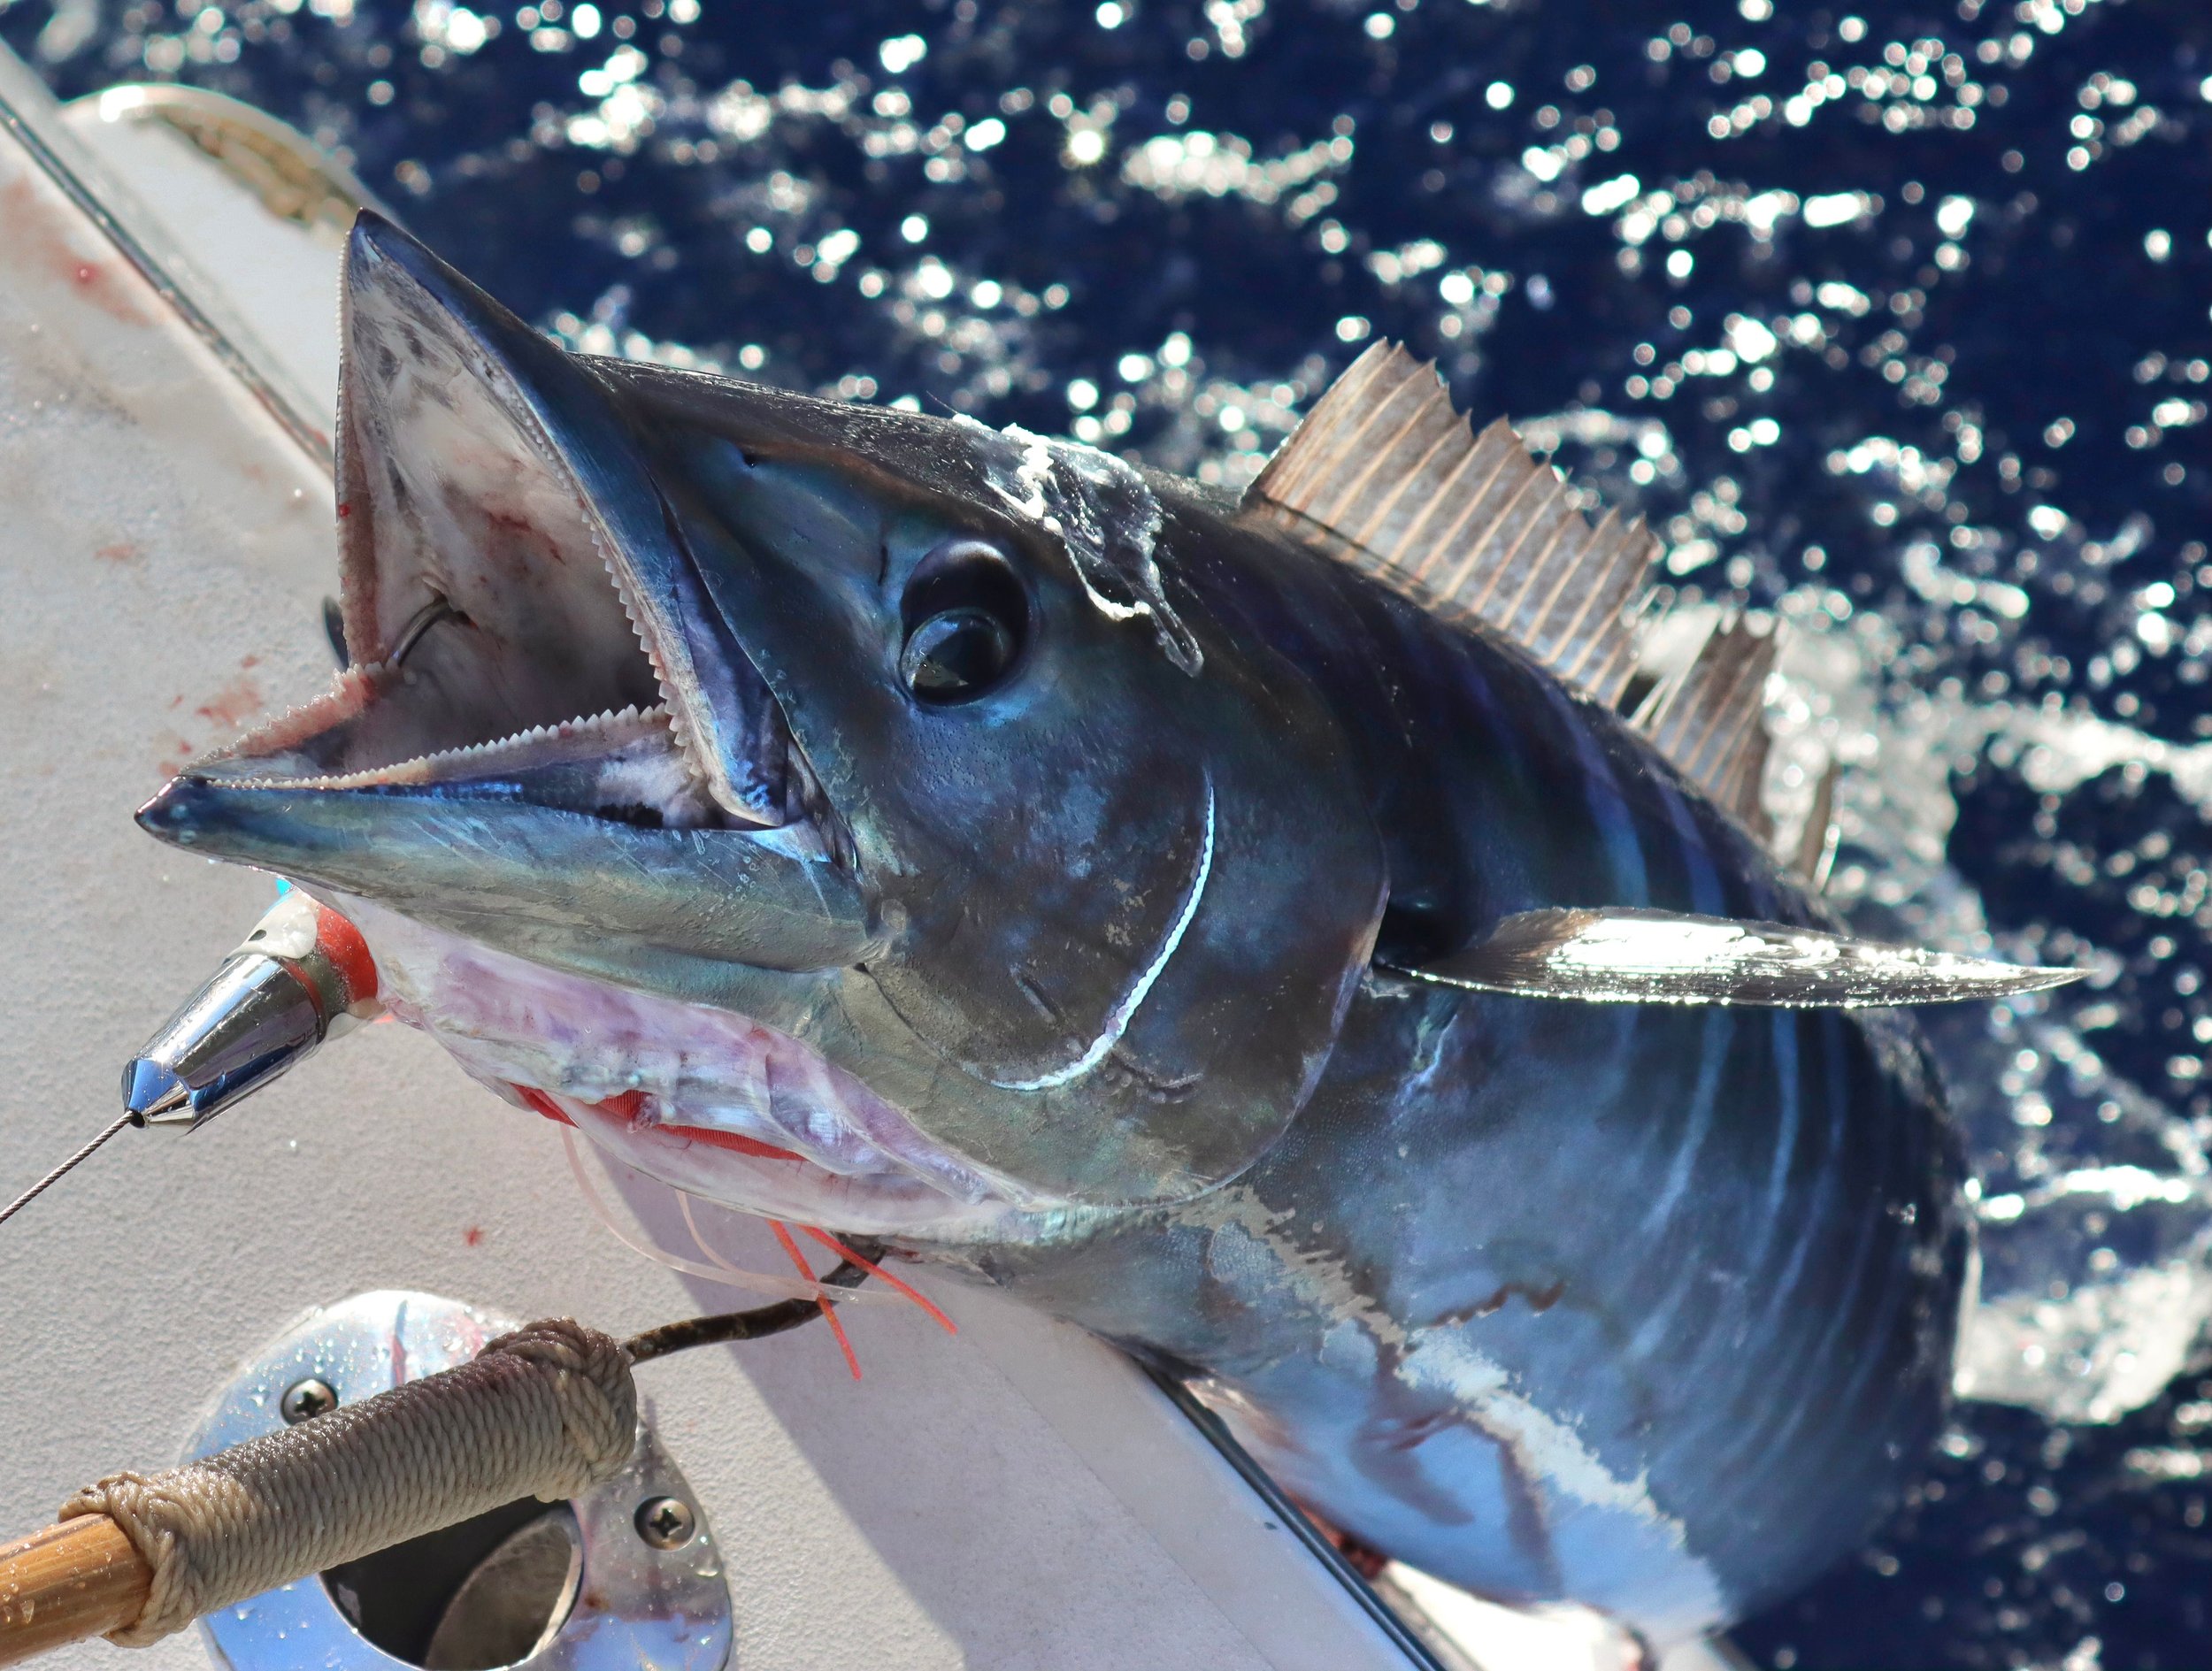
Many anglers practice catch and release when they’re out fishing. It’s becoming more popular to do so, and even encouraged with certain species of fish. However, you have to be careful when practicing catch and release. Although this practice is intended to keep the fish you catch alive, sometimes, if an angler isn’t careful, the fish could die still.
In today’s post we’ll explain both why anglers perform it and how to practice catch and release properly!
Why Anglers Practice Catch and Release
Catch and release is a conservation practice that was developed to prevent fish from being over-harvested. Sports fishers have been practicing catch and release for a long time since most don’t need to keep their fish for food. The fun is typically in the fight and the resulting catch. Catch and release is used when there’s no need to keep a fish. If you’re not planning on eating your catch, it might be best to practice catch and release.
How to Practice Catch and Release Without Harming the Fish
Make sure you plan ahead before you go fishing. Even if you aren’t expecting to practice catch and release, it might be a good idea to come prepared anyways. Make sure to bring release/dehooking tools with you in your tacklebox. And keep appropriate tackle in your tacklebox. Use tackle that’s matched to the species you’re trying to catch. Also, try to use barbless hooks. Fish are more easily unhooked from hooks without barbs, making it easier for you to help them get off the hook. Another type of hook that would work well are circle hooks which hook fish in the mouth, allowing them to be easily released.
After you catch the fish, make sure you minimize the handling of the fish. The less touching the better. Although if you do touch the fish, wet your hands first thing, to help maintain the fish’s slime coat. Otherwise, the fish can get an infection since the slime coat is a layer of protection for the fish. Make sure to avoid touching the fish’s eyes and gills! And if you want to take a picture with your fish, try to hold it horizontally rather than vertically in order to prevent any issues. Lastly, don’t drop the fish!
When you’re using a dehooking device to release fish, make sure to handle the fish carefully. If you don’t have a dehooking device at your disposal, needle nose pliers will also allow you to properly remove a hook. To use needle nose pliers to remove a hook, you’ll need to back the hook out the way it entered, delicately.
But what should you do if you want to release a fish that’s been deeply hooked? Sometimes fish are so deeply hooked that if you tried to remove the hook, they’ll be damaged. In those cases, the best thing to do for the fish is to cut the line as close to hook as you possibly can. Quite often, the hooks will fall out of the mouth or even dissolve once the fish is released into the water.
If the fish looks tired, possibly after a long fight with an angler, you may need to revive the fish before releasing it back into the water. This is especially true if it looks like it’s having problems swimming in the livewell. To do this, when you’re placing it back in the water, you will need to pass water over its gills. Then move the fish forward with its mouth open. If it doesn’t swim away after this, you’ll need to try to revive it again. Once the fish is swimming on its own that’s when you know it will be fine.
At Kona Fishing Charters, we want you to have a wonderful time fishing. We will help you practice catch and release if you wish to use it with any of the cool fish you catch with us. We encourage our guests to practice it with any blue marlins that they may catch, however, if you choose not to do so, we can donate the blue marlin to local, Hawaiian charities. If you’d like to book a trip for Marlin fishing in Kona, call us at (808) 960-1424. We’ll ensure you’ll have a good time!